Astrophotography: Tips and Techniques
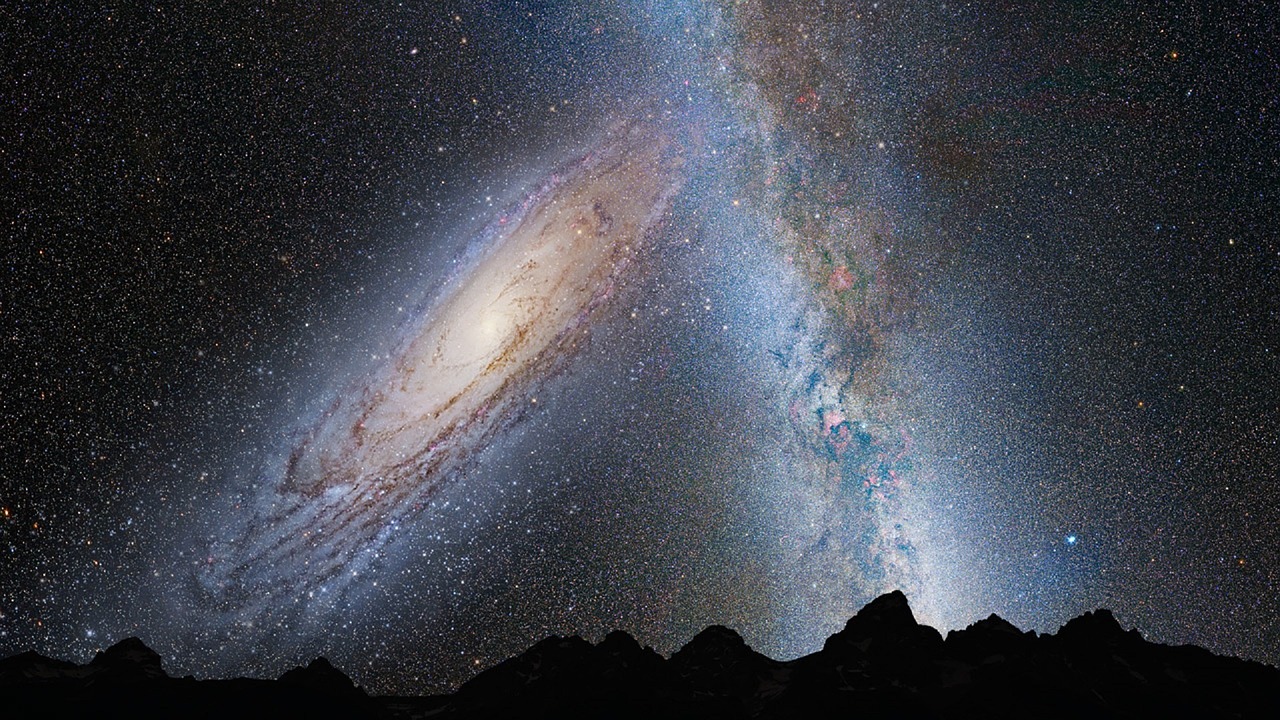
Photography of the night sky or better known as astrophotography can be an extremely edifying passion that reveals the breathtaking beauty of nature and the universe. It can be as simple and straight as a camera mounted on a tripod, or it can also be highly complicated as you want to make. It can be with cameras that are liquid-cooled, computer-augmented images and telescopes that are controlled by robots. This photography is a large sub-discipline in amateur astronomy, where the photos are just taken to capture aesthetically gratifying images, rather than for scientific research with a whole range of equipment and techniques dedicated to the activity.
It is customary that our cameras are used mostly in the daytime, when there’s plenty of light from the sun that lightens the objects. Shooting at night doesn’t suits us very much as the light is very less. And usually if we shoot at night, it’s a flash or with long exposures using man-made light from our houses or streets. We feel that the dark sky offers a little that we can see or capture an image. But, in realty, this is just the case as on the brighter side, there’s a whole universe of opportunity.
It is thus, the name given to the process of taking pictures out in space not from the Hubble Space Telescope but with equipment that almost every photographer has on hands. Point of consideration is, making good photos doesn’t require billions of dollars or a Space Shuttle ride. Under this writing, the user will get to know how start making photos with the universe, and progress to the next level with some simple equipment you can buy at a very lower cost.
Some points to consider: When getting into celestial photography, we must remember that the earth rotates on its axis once per day. But this does not means that you are never going to capture still images of the heavenly bodies. Here are the inklings that will help you click the most stupendous photos in the dim light.
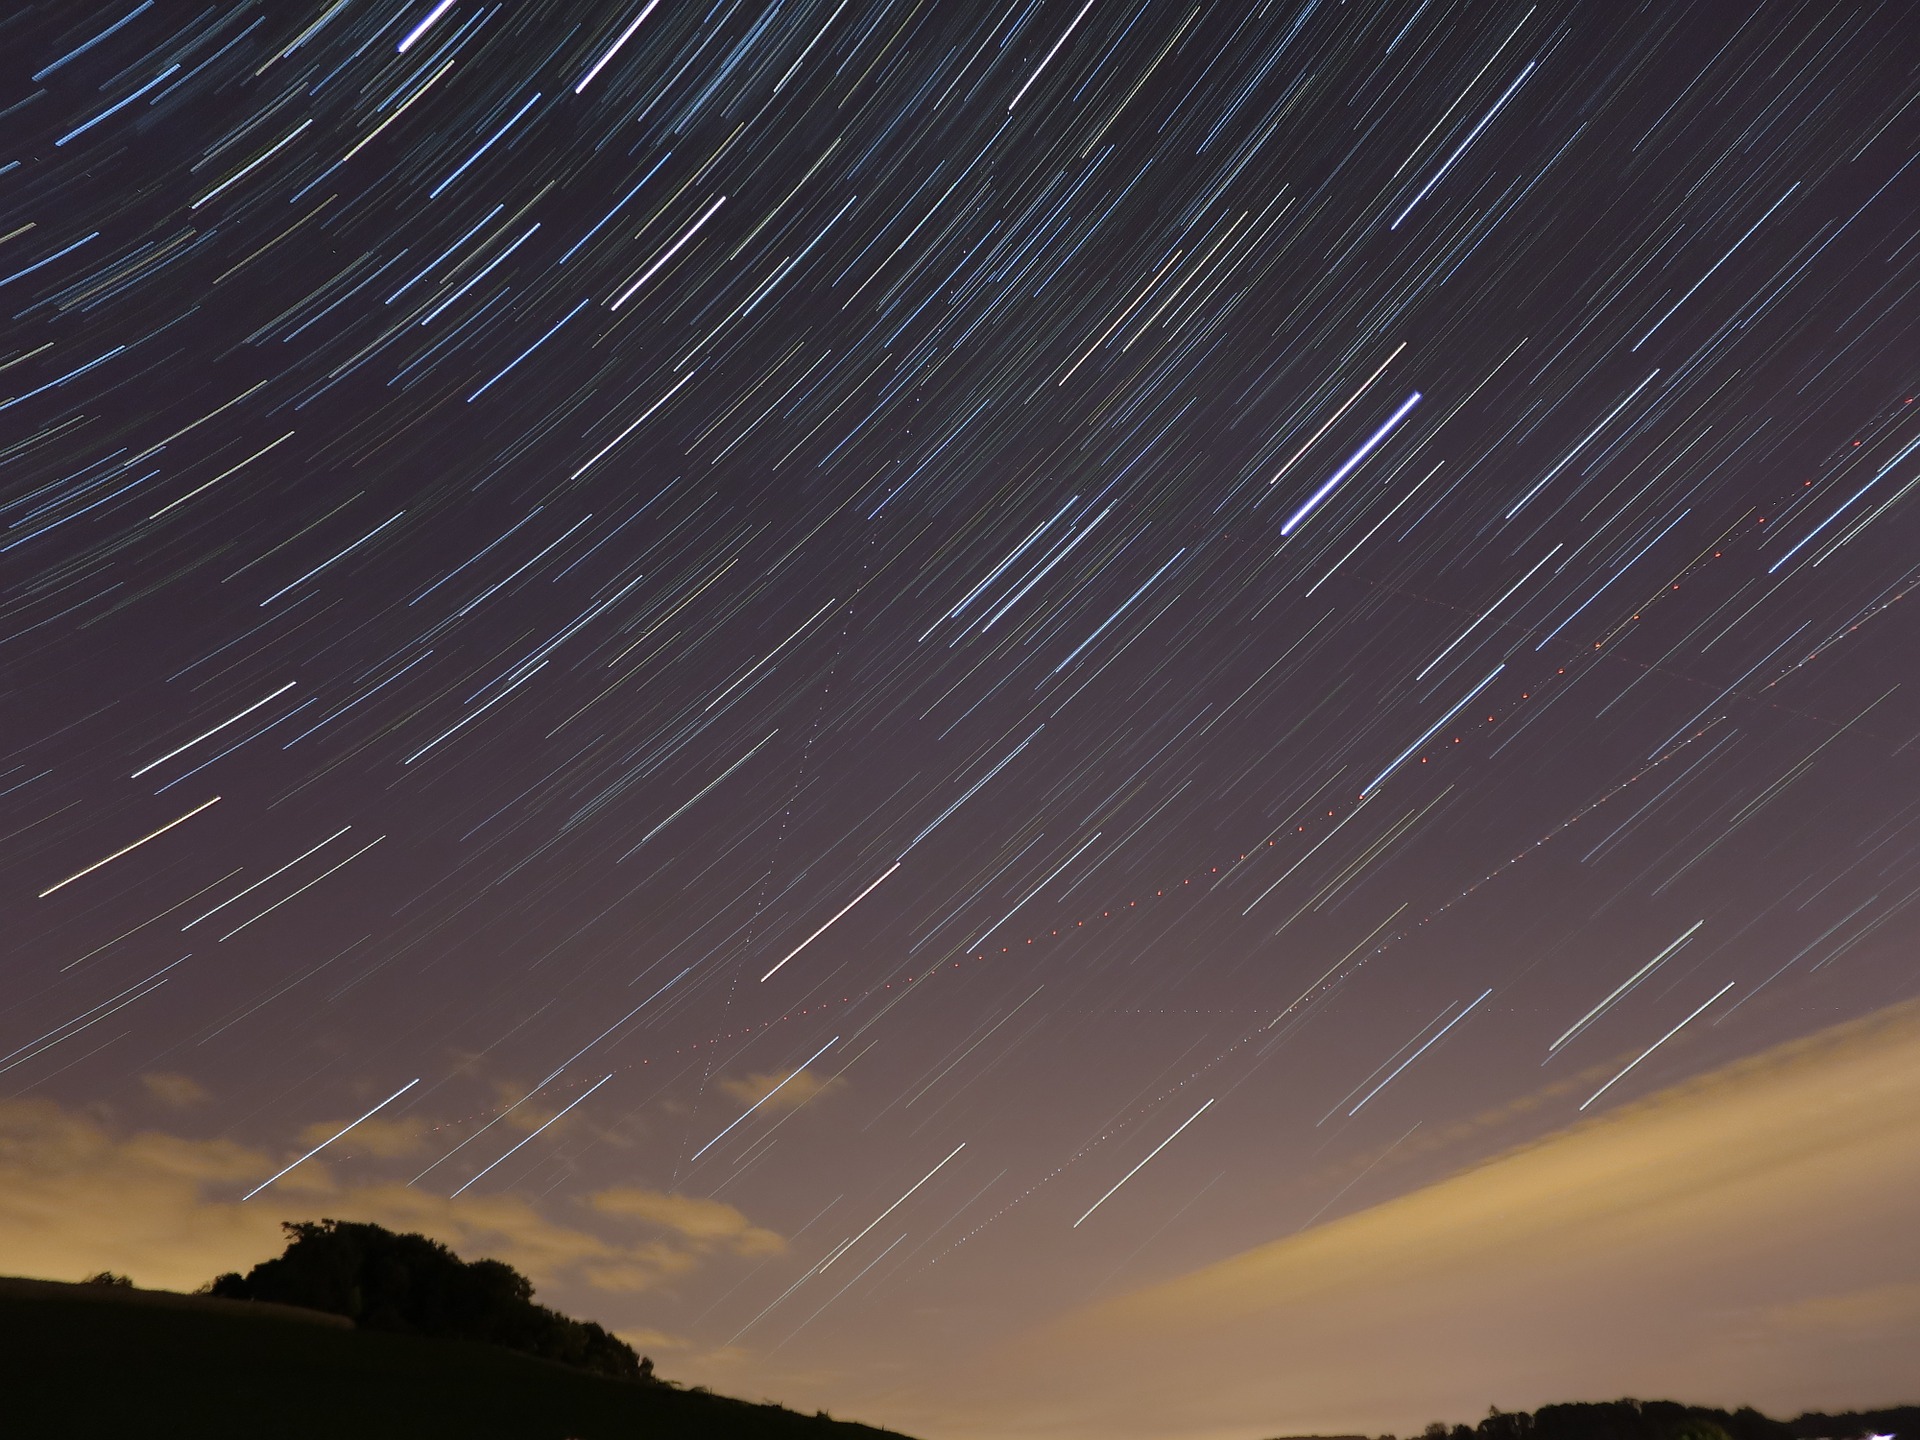
Taking Star Trail Photos:
A star trail photograph shows the stars as streaks crosswise the image, with lengthy exposures resulting in lengthy streaks to capture the apparent motion of stars in the night sky due to the Earth rotation.
- Use a bulky tripod and avoid any movement of tripod as it will show “squiggles” in star trails.
- Select a dark location away from city lights and take something interesting in the foreground to show the sky’s apparent rotation against the earth.
- Use a good wide-angle lens for best developments.
- An aperture of f/5.6 to f/11 to be set as smaller apertures will reduce the brightness of the glow of sky.
- Use a cable release or remote release and then set manual focus by putting a small piece of masking tape on the lens’ focus ring and leave it open. Tis will result in longer exposures mean longer star trails.
-
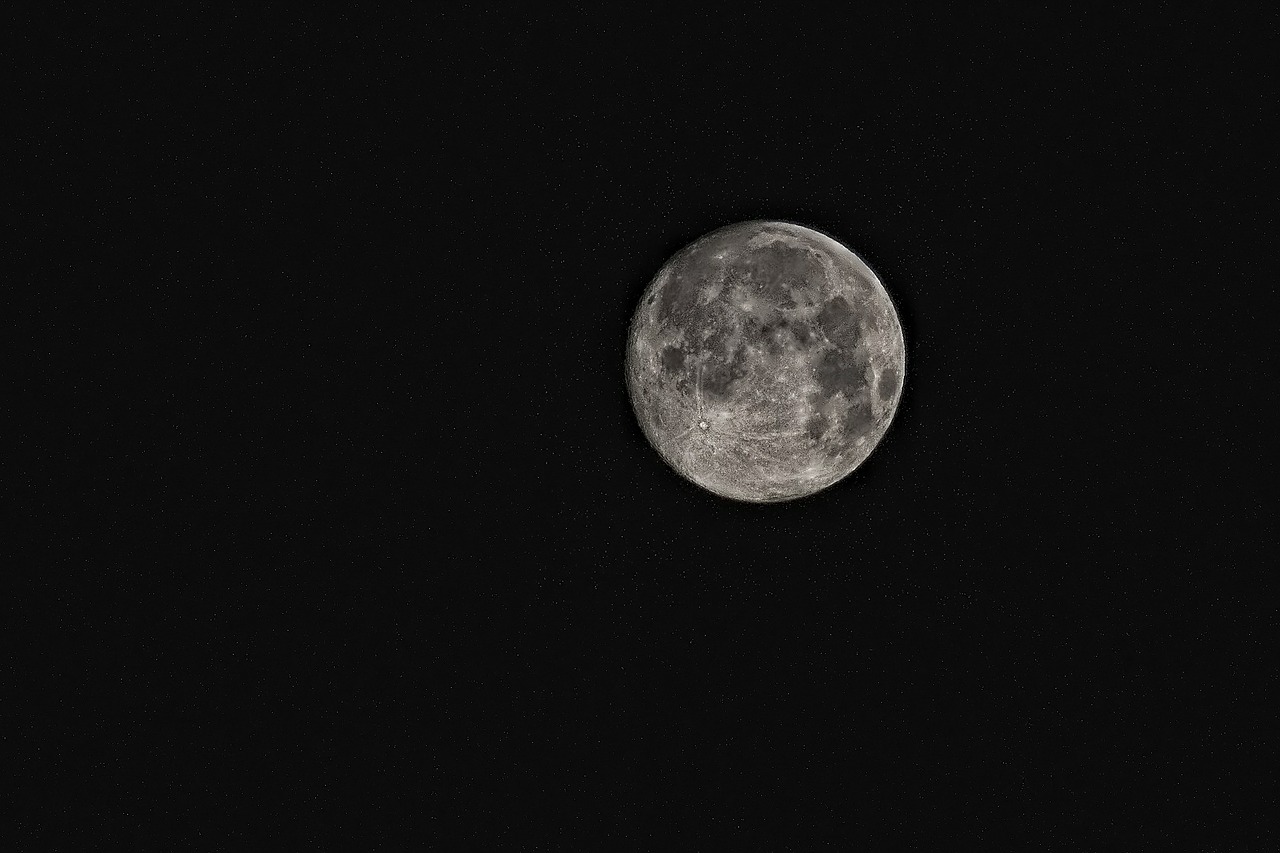
Taking Moon Photos:
-
The moon appears to move crosswise in the sky at the same rate as the stars. it is bright and it doesn’t require long exposure times.
- Try taking Moon pictures at first or third quarter when the Moon appears half-lit.
- Don’t shoot when the Moon is low on the horizon.
- Take 35 mm film or full-frame digital cameras.
- Use a shutter speed at f/16 that is the reciprocal of your film or sensor’s ISO.
- Adjust the shutter speed up or down according to how many f-stops are there and where the lens is operating at.
- Use a sturdy tripod and use camera’s mirror lock-up function.
- Focus at infinity, and shoot
Taking Non-Trailed Fixed-Position Star Images:
- The use of a very wide-angle lens — the wider the better.
- As similar to Star-Trail images, include something interesting in the foreground!
- Use a bulky tripod, a remote release, f/5.6 to f/8 and ISO 400-800
Taking Constellation Photos:
- Keep the shutter open for up to 30 seconds.
- Use the self-timer or cable release to open the shutter, and focus the lens on infinity.
- Set your exposure between 5 – 30 seconds.
- Use a relatively high ISO such as 800, 1600 or 3200.
- Try putting something in the foreground, such as trees and clouds.
- Use “fog” filter on the lens to give a soft-focus effect, diffusing and enlarging the brighter stars in the image. “
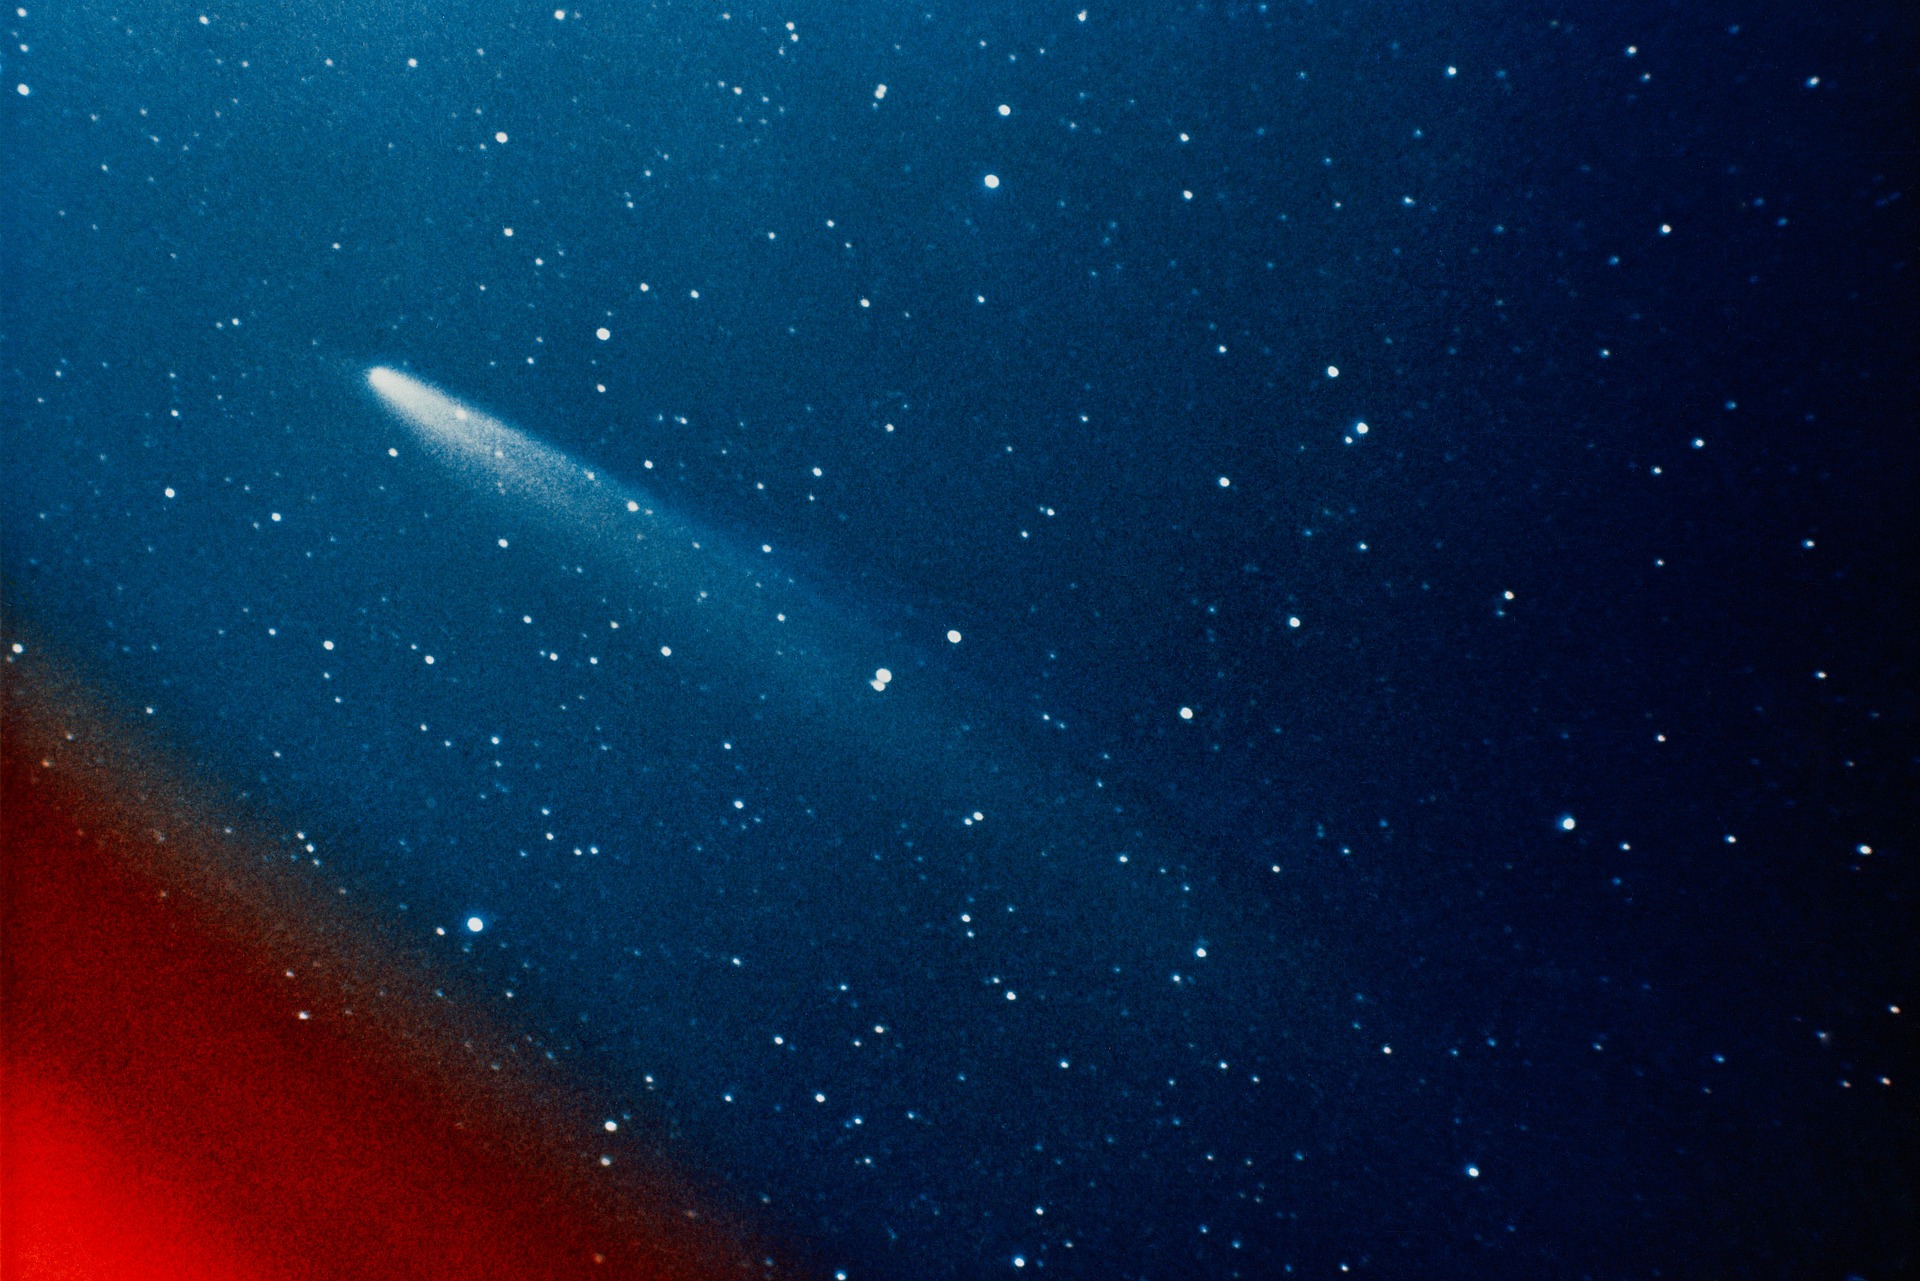
Taking Comet Photos:
Comets are celestial objects having a nucleus of ice, dust, gas and dust particles pointing away from the sun.
- Use a wide angle lens and an exposure of 30 seconds.
- Shoot from a dark location.
- Add interesting elements to the foreground.
- Remain motionless during the exposure.
Using Equatorial Mounts:
This is a telescope that mounts with one axis aligned to the celestial pole and the movement of celestial objects is followed by motion about the axis. They allow the users to use longer focal lengths to “zoom in” nebulae and star clusters.
Here are few references that will help you to exactly know the position of stars, moon and galaxies to make the photos beautiful. Just take a look:
NASA/JPL’s Ephemeris:
The NASA/JPL site lets you enter your position on earth to get specific information for your location, at any time and Ephemeris gives the positions of the Sun, Moon, and planets.
Can you suggest some good cameras under 500$ for night photography?
hello kelly,
You can go for following cameras
Canon 1000D
(Rebel XS)
Nikon D3100
Canon EOS 450D