how to blur background using Nikon Camera
There could be plenty of reasons that can convince you to switch to a DSLR camera over your high class smartphone’s camera or a normal digital camera. If you belong to a photography profession, or love photography then you must have noticed that most of the great photos are clicked with sharply focused subject and blur background, especially in portraits. Professional portraits often use blur background effect to highlight their subject, which actually makes a complete sense. This is an easy and effective way to provide a professional finishing to your portraits and can be achieved with any digital camera, smartphone camera, DSLR camera, professional software, etc. Further , in this post we will discuss about how to take blur Background using Nikon Camera!!
DSLR cameras come up with larger sensors and some highly efficient kit of lenses that can provide you the best options to achieve a shallow depth of field to get a blur background.
Due to which the most of the DSLRs are capable of creating a highly blur background than any other smaller sensors in an average point-and-shoot. Therefore, people start switching to a variety of DSLRs instead of normal digital cameras and smartphone cameras to get that perfect portrait.

This article will let you know about all the three factors that you should take care of while creating the lovely blur background and also with the camera that you already own. As Nikon is the latest highly popular camera range available so let us discuss the process of blurring a picture background with a Nikon camera.
Nikon camera settings while clicking portrait with blur background.
- Shoot your camera into Aperture priority mode
- Select the lowest available f-number (using the smaller command dial). In case you are using a kit lens then it is already zoomed-in, normally it will be around f5.6.
- Set the ISO to Auto mode (inside the menu) and allow Single-point AF (select ‘i’ and highlight the AF-Area mode tab on the right of the info panel on the LCD).
Note: The single-point AF enables you to control the focus point
- To further highlight the effect, always keep a good distance between the subject and the background and try to keep the subject relatively close to you.
- When you are done, do not forget to set the mode dial back to Auto or Program mode.
Additionally, mount your flash to your hot-shoe and point it towards the ceiling. It will bounce the flash, and provide you more coverage throughout as well as a natural looking shots indoors.
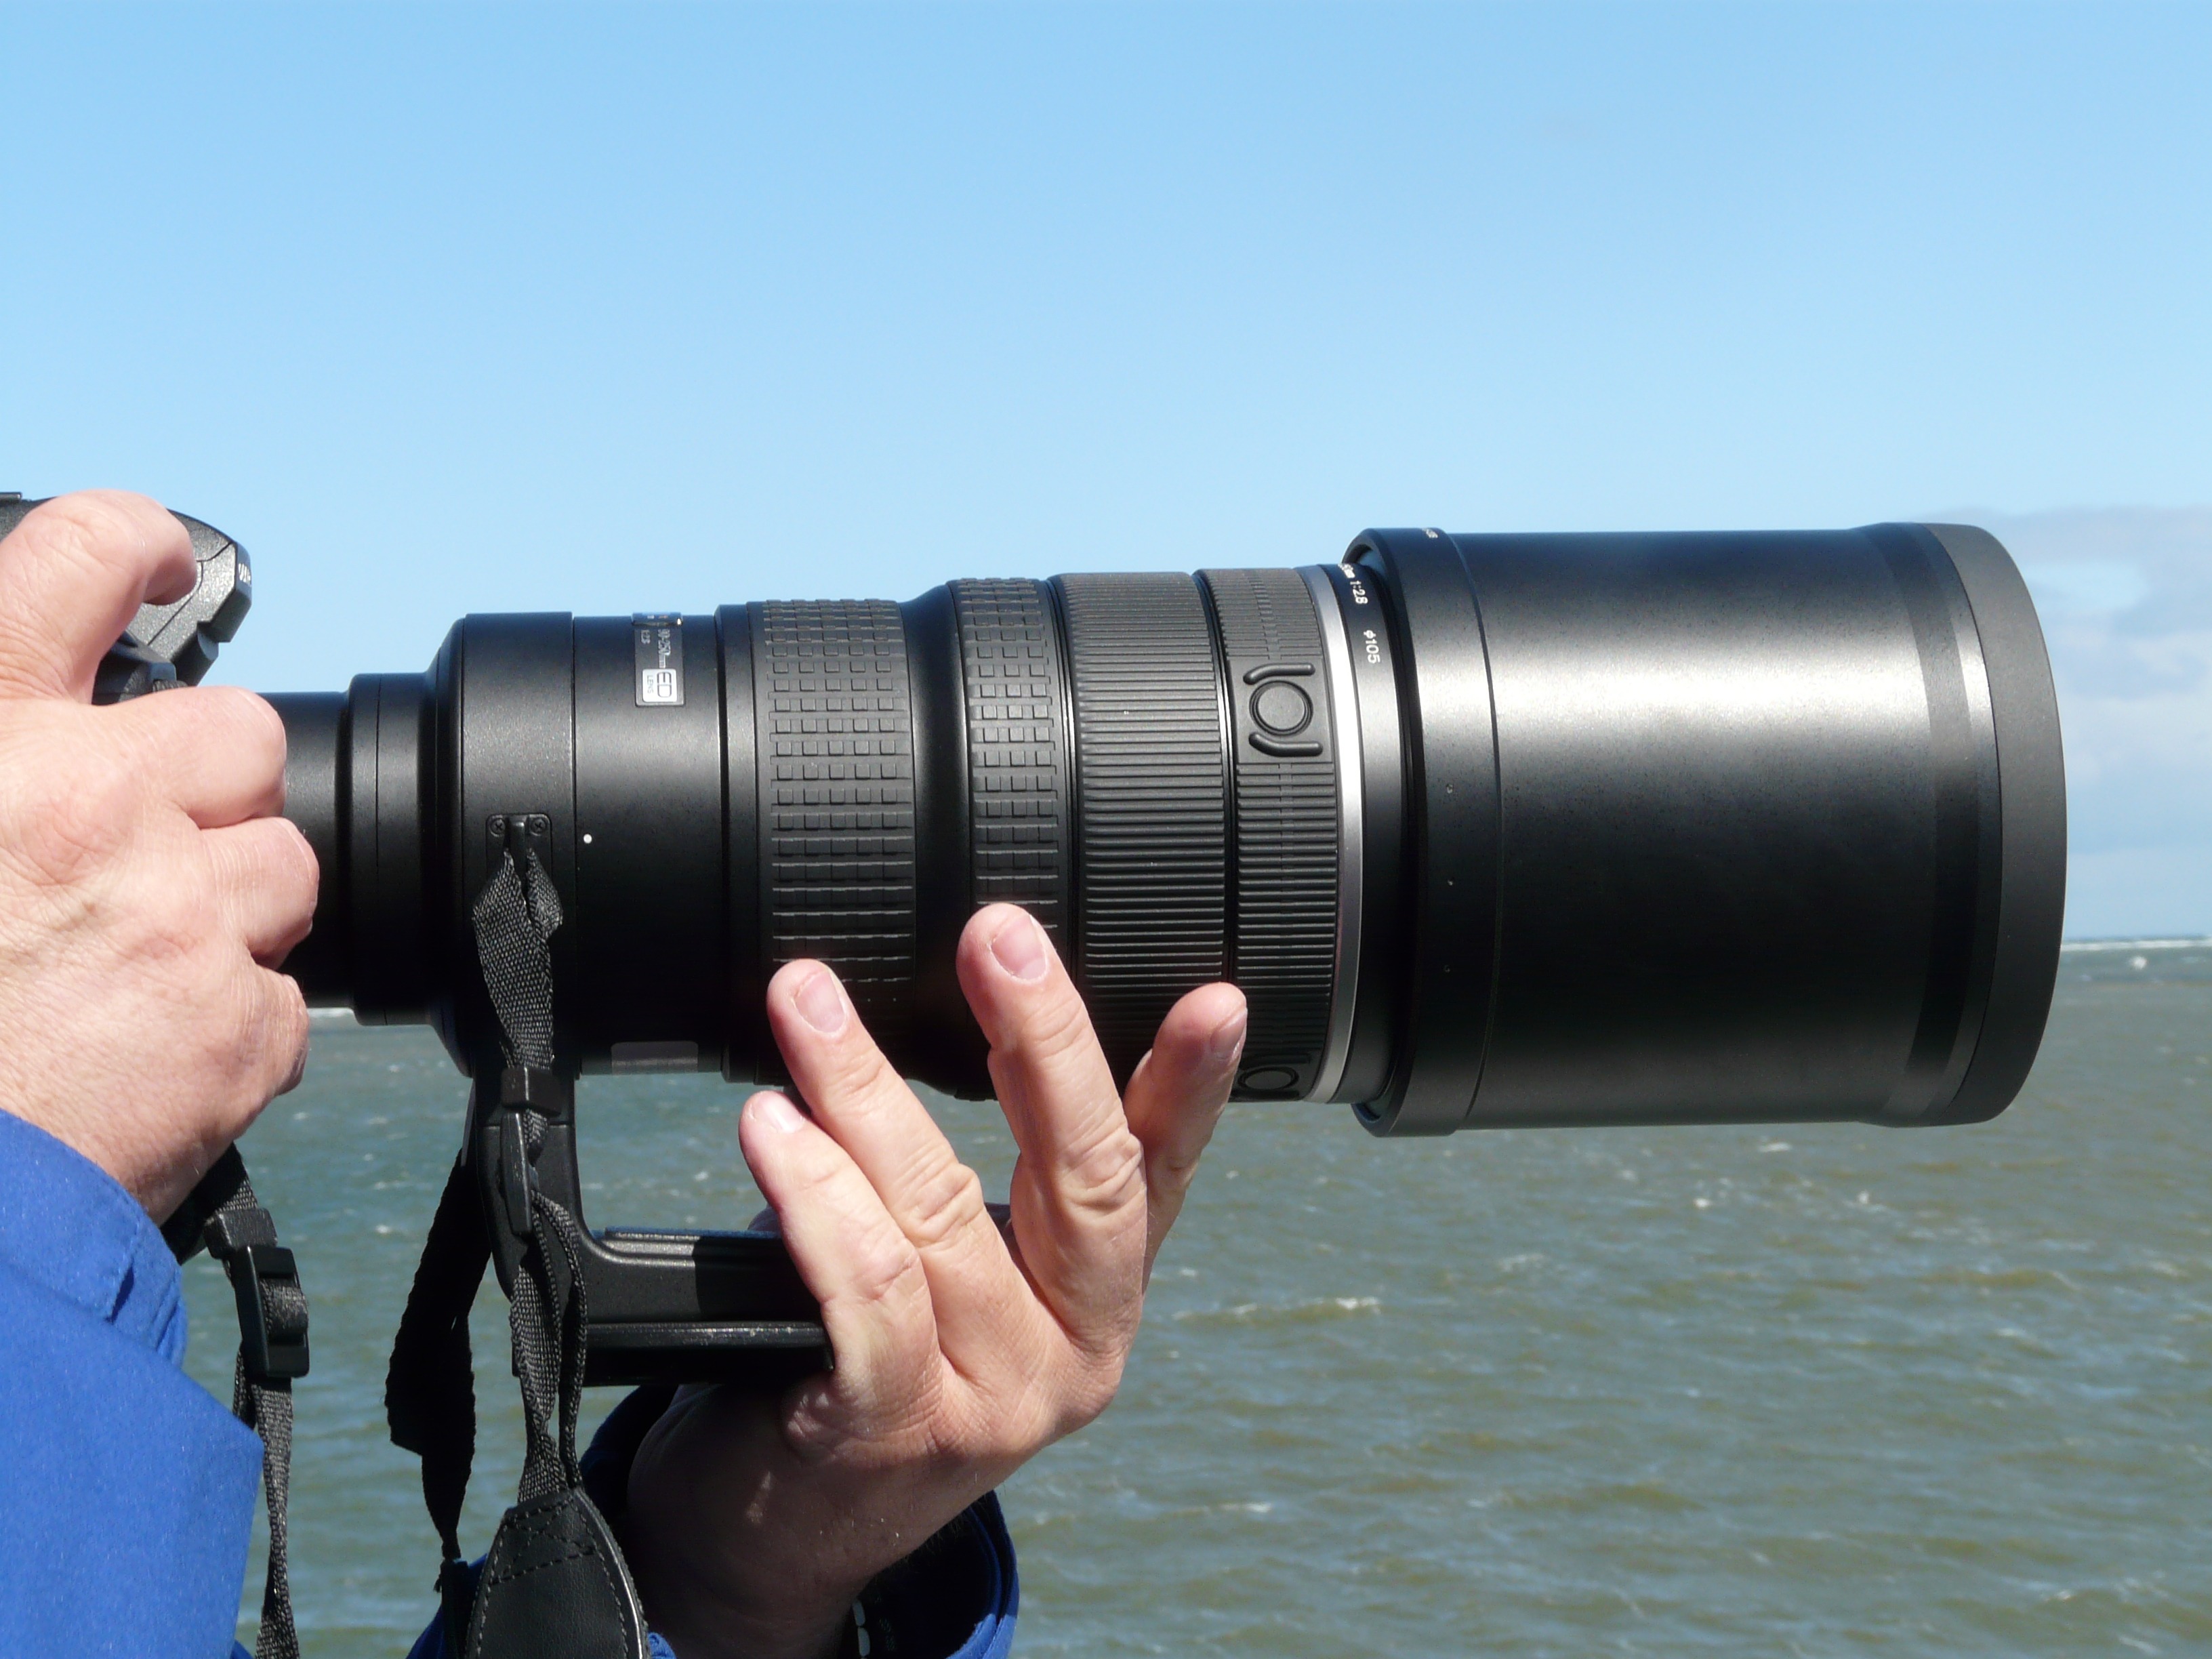
Options to be considered while selecting a Lens
When it comes to selecting a lens, then a wide maximum ‘aperture’ lens should be your preferred choice. You need to buy it separately, as it will not be available with the typical kit lens. There are also two other factors involved that you should never forget one is ‘focal length’ of the lens and other is ‘distance between the subject and the background’. The best way to get an isolated subject against blurry background is to use a lens that has the aperture between f/1.4 and f/2.8.
Summing up:
To get a perfect blur background image along with focused subject, try to make a large distance between the subject and the background. This will help you to make the background more bright and blurry and allows you to focus on your subject. To increase the focus on your subject, try to keep it near the camera.